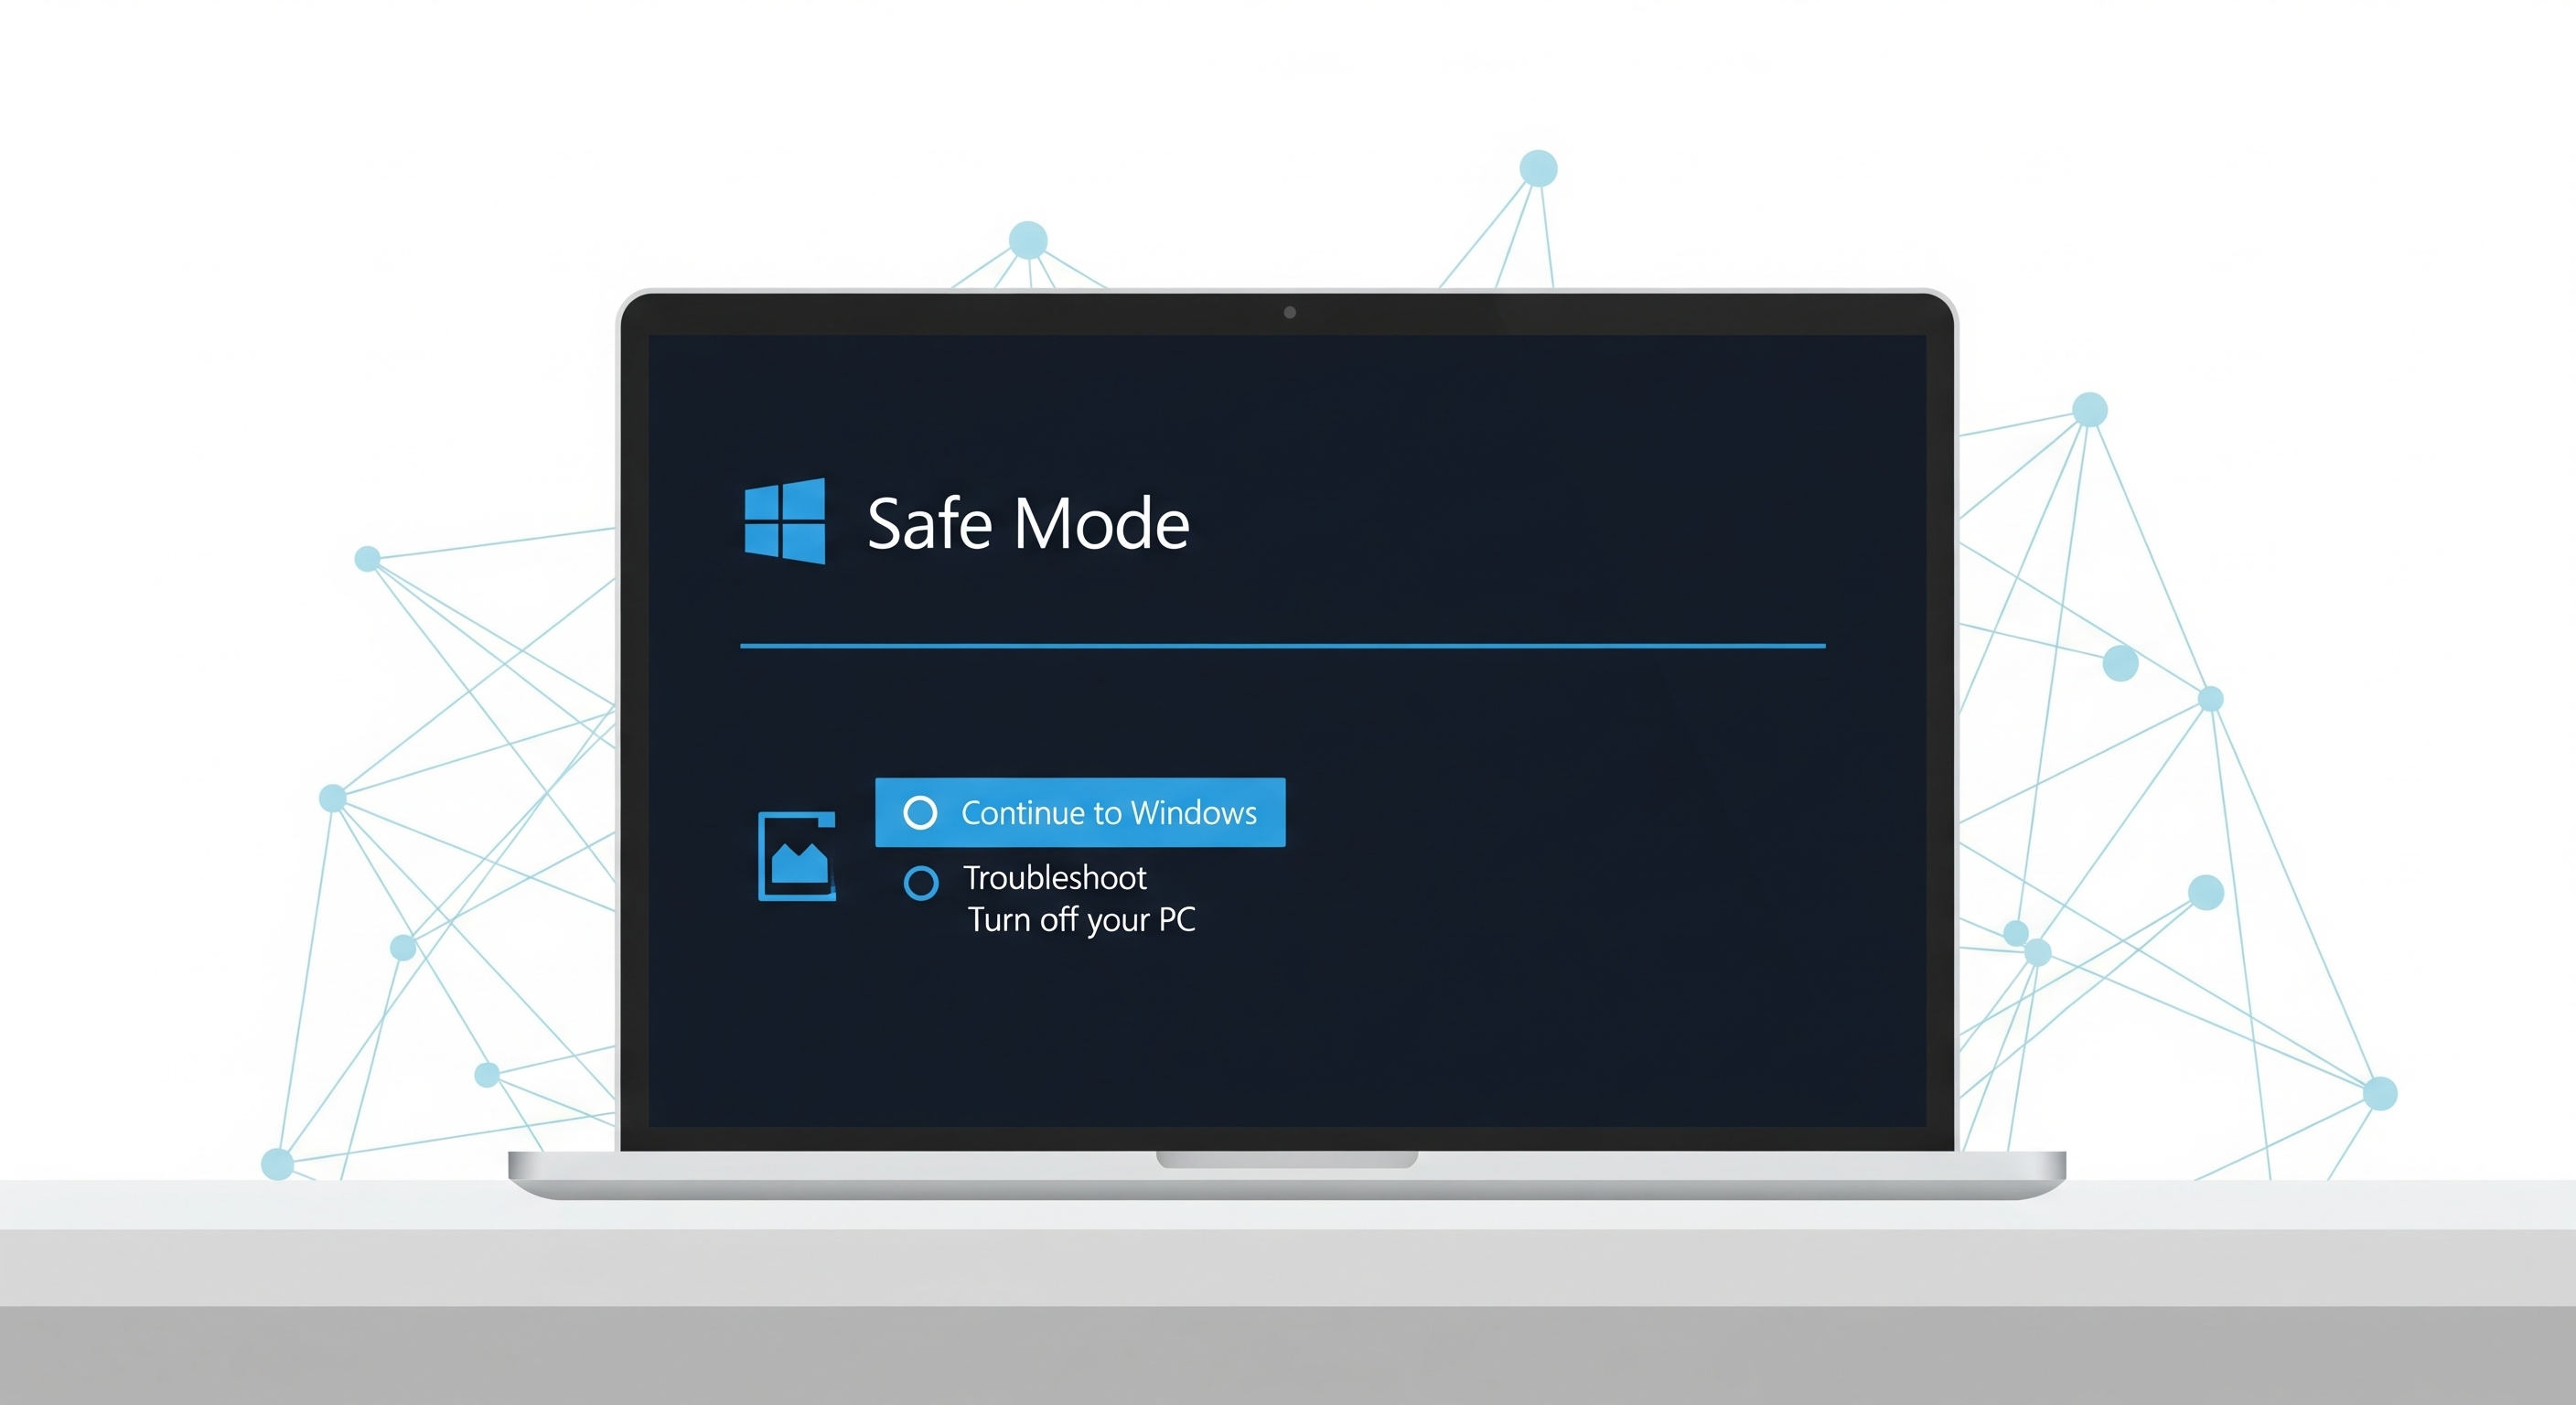
Sometimes your computer just won’t cooperate—whether it’s a stubborn driver, a malware infection, or a performance glitch. In these cases, knowing how to start PC in Safe Mode fast can save you time and stress. Safe Mode loads only the essential system files and drivers, making it easier to troubleshoot issues and restore normal function.
Table of Contents
In this guide, you’ll learn different methods to boot into Safe Mode quickly, whether you’re using Windows 10, Windows 11, or an older version of Windows.
What Is Safe Mode and Why Use It?
Safe Mode is a stripped-down version of Windows that helps diagnose and fix problems.
Common reasons to use Safe Mode:
- Removing stubborn malware or viruses
- Troubleshooting driver errors
- Fixing system crashes or startup issues
- Restoring performance after a failed update
Methods to Start PC in Safe Mode Fast
1. Use the Settings Menu (Windows 10 & 11)
If your PC is still booting normally, you can enter Safe Mode through Settings.
Steps:
- Click Start > Settings > Update & Security.
- Select Recovery from the left panel.
- Under Advanced startup, click Restart now.
- Go to Troubleshoot > Advanced options > Startup Settings.
- Press Restart.
- From the list, press 4 or F4 to enable Safe Mode.
2. Boot from the Sign-In Screen
If your PC isn’t working smoothly but you can reach the login screen, try this method:
- On the sign-in screen, hold down the Shift key.
- While holding it, click Power > Restart.
- Follow the same menu path: Troubleshoot > Advanced options > Startup Settings > Restart.
- Press the corresponding number key for Safe Mode.
Read: Intel i9 vs Intel i7: Do More Cores Always Mean Better Performance?
3. Use the System Configuration Tool (msconfig)
For frequent troubleshooting, you can set Safe Mode through the built-in tool.
Steps:
- Press Windows + R to open Run.
- Type
msconfigand press Enter. - In the Boot tab, check Safe boot.
- Click Apply > OK.
- Restart your PC to enter Safe Mode.
(Tip: Remember to uncheck Safe boot later to return to normal mode.)
4. Interrupt Normal Boot (Advanced Method)
If your system won’t load at all, force Safe Mode by interrupting startup:
- Power on your PC, then hold the power button to shut it down once Windows starts loading.
- Repeat this 2–3 times until the Automatic Repair screen appears.
- Select Advanced options > Troubleshoot > Startup Settings > Restart.
Tips for Troubleshooting in Safe Mode
- Run antivirus scans to remove malware.
- Uninstall faulty drivers that may be causing crashes.
- Use System Restore if you recently installed updates or apps that triggered issues.
- Check Event Viewer logs for detailed error information.
Conclusion
Knowing how to start PC in Safe Mode fast is an essential troubleshooting skill every Windows user should master. Whether your PC is sluggish, infected, or stuck in a boot loop, Safe Mode gives you a clean environment to identify and fix problems. With the methods above, you’ll be able to get back to a stable system in no time.
FAQs: Start PC in Safe Mode Fast
Q1: Why should I start PC in Safe Mode fast?
Safe Mode helps fix errors by loading only essential files, making troubleshooting easier.
Q2: Can I access Safe Mode if Windows won’t boot normally?
Yes, you can force Safe Mode by interrupting the normal boot process.
Q3: Does Safe Mode remove viruses automatically?
No, but it makes it easier to run antivirus scans and remove malware safely.
Q4: How do I exit Safe Mode after troubleshooting?
Simply restart your PC. If you used msconfig, uncheck “Safe boot” first.
Q5: Is Safe Mode available in both Windows 10 and 11?
Yes, both Windows 10 and 11 have Safe Mode options via Settings and boot menus.


